
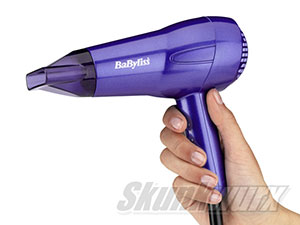
Your new spoiler just arrived, it's already pre-taped, just send it to the bodyshop to get painted, peel the tape, and just stick it on, right? WRONG! (Unless you like the 'half-hanging-off' look that is...)
Attaching a rear spoiler to your car takes a little more preparation and time, as in most projects, preparation is everything! Here we go through the procedure for installing your rear spoiler for a perfect fit.
Pre-requisites: It is assumed that your spoiler is ready to fit. If you are getting your spoiler painted before installing on to the boot/trunk, please ensure the bodyshop bakes the paint for curing at the correct temperature for the material, and that the spoiler is adequately supported to prevent undue distortion or warping.
Step 1: Clean, Clean Clean!
Wash your boot with soap and water to get rid of any debris build up that may get in the way of the spoiler sitting flush. Even the smallest particles of dirt can cause problems so it is important to ensure the boot is completely dirt-free. Once washed, use a degreaser or isopropyl alcohol to wipe down the boot where the spoiler will be sitting. This step is important to promote adhesion of the bonding tape.
If your spoiler does not have the bonding tape attached, repeat the same process on the fitting side.
Step 2: Prepare Your Spoiler
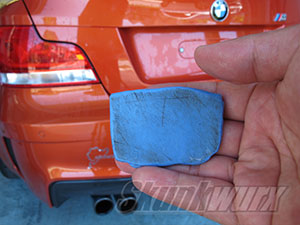
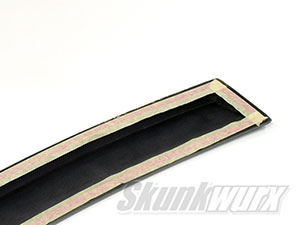
If your spoiler does not come with adhesive tape attached, apply some 3M Automotive Tape (or similar) on all the edges that will make contact with the boot. It is important to ensure all of the edges are well taped. Bear in mind the some spoilers will be making contact at different places on the boot, and may not be a continuous line.
Step 3: Position The Spoiler
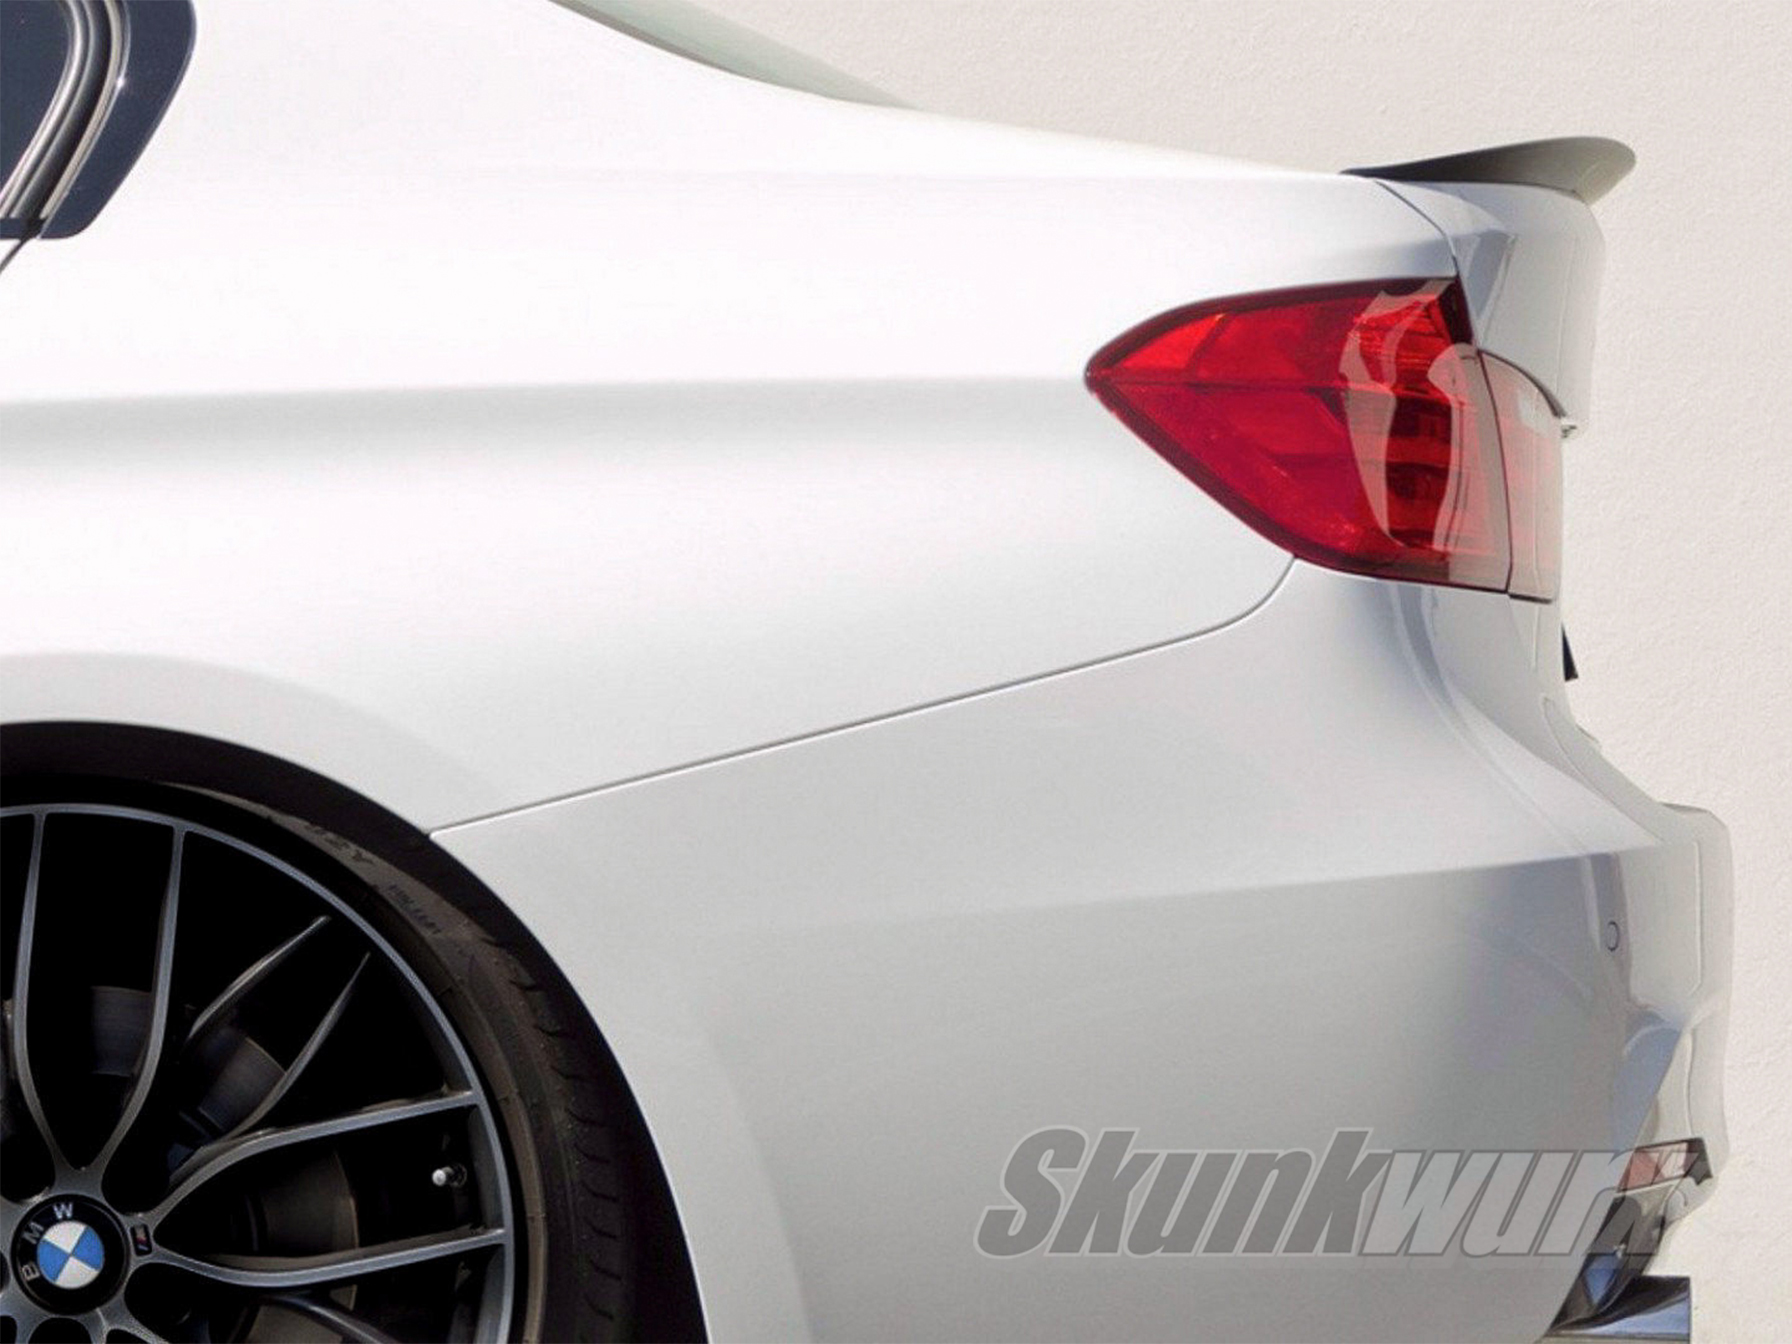
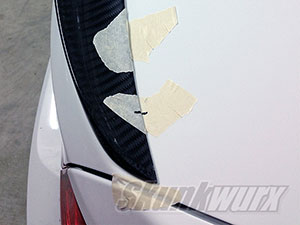
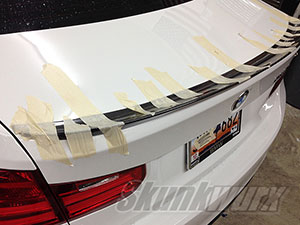
Place the spoiler at the correct fitting position on the boot. Ensure the spoiler is central and there is even spacing on each end between the end of the spoiler and the end of the boot-lid. You may need the assistance of a colleague to help you keep the spoiler flexed in to position. Once in place, apply masking tape at several locations across the length of the spoiler and with a marker draw a straight line start from on top of the spoiler going on to the bonnet on each of the masking tape positions. These will be your locating marks. Cut the tape carefully with a knife or scissors between the spoiler and the boot so you can lift off the spoiler cleanly.
Step 4: Borrow The Other Half's Favourite Hair Accessory
With the spoiler removed from the car and fitting lines marked, with a hair dryer (or hot air gun at low settings) gently warm up the edge of the boot. Do not overheat, it should just be warm to touch. Using a hotter setting on the hairdryer, heat up the tape on the spoiler. The tape will heat up quickly and make it softer and more tacky leading to better adhesion and a closer/better fit on the car.
Step 5: Fix The Spoiler
Take off the red backing from the tape and CAREFULLY line up the spoiler, using the locating marks created in Step 3 to position it in to place. TAKE YOUR TIME. Once the tape makes contact with the boot, it is extremely difficult to take it back off. Have a colleague help you and position the spoiler in to place a few mm away from the boot, and when confident it is lined up correctly, press it in to place and apply firm pressure at all the fixing points on the spoiler that make contact with the boot.
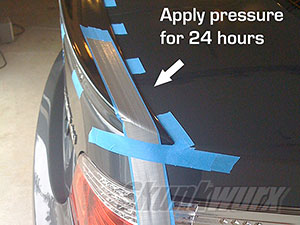
After the spoiler is installed, use masking tape to apply pressure to the spoiler overnight. The tape will take several hours to cure fully and it is important the edges of the spoiler are held down firmly. DO NOT tape from the center lip of your spoiler down to the vertical edge, this will peel the spoiler off and not give a flush fitting.
Step 6: Make Sure The Edges Are Taped Down Firmly
The edges of the spoiler are the weakest fixing points. It is VITAL these points are fixed down taut with masking tape for 24 hours.
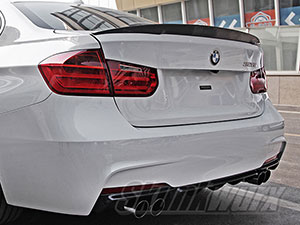
Step 7: Admire your work
After 24 hours carefully remove the masking tape. If low tack masking tape was used this should be easy to do. Clean any residual glue left on the spoiler/body by the masking tape and sit back and admire your work!