
As the Atom 3.5 and the V8 both use the Race Technology Dash2 digital display unit, you may be wanting to upgrade your Atom 1,2 or 3 that uses the standard SPA dash to give your Atom a facelift. You may well decide to use one of our bespoke StreetDash or options, but you may have your own Dash2 unit lying around and be wanting to have a go at doing it yourself. You could just throw caution to the wind and start chopping wires left, right and center to get it working however we strongly recommend you use a to create your loom. That way you can just screw it in to the plug the existing SPA dash connects to, and should you wish to switch back to the SPA Dash, you dont have to worry about having to do a whole load of rewiring!
Before you begin, you need the following items:
- Binder connectors supplied with the Dash2 (two of)
- 1 x
(free hanging or panel mount, the choice is yours)
- Crimp tool (to crimp the pins for the SPA Dash connector)
- Insertion/Extraction tool (to be able to insert the pins in to the SPA Dash connector)
- Four 1K 0.125W resistors (will explain later)
- LED for alarm signal
-
- Some spare 24AWG wire
The Race Technology Dash2 unit comes with 2 Binder connectors. To make things easier, the wires are colour coded (unfortunately not the same colours as the Atoms' native wires). Most of the wiring is pretty straightforward, you just need to hook up the correct pin from the Dash2 side to the side.

(you can click on the picture to open a bigger, more readable picture in a new web page)
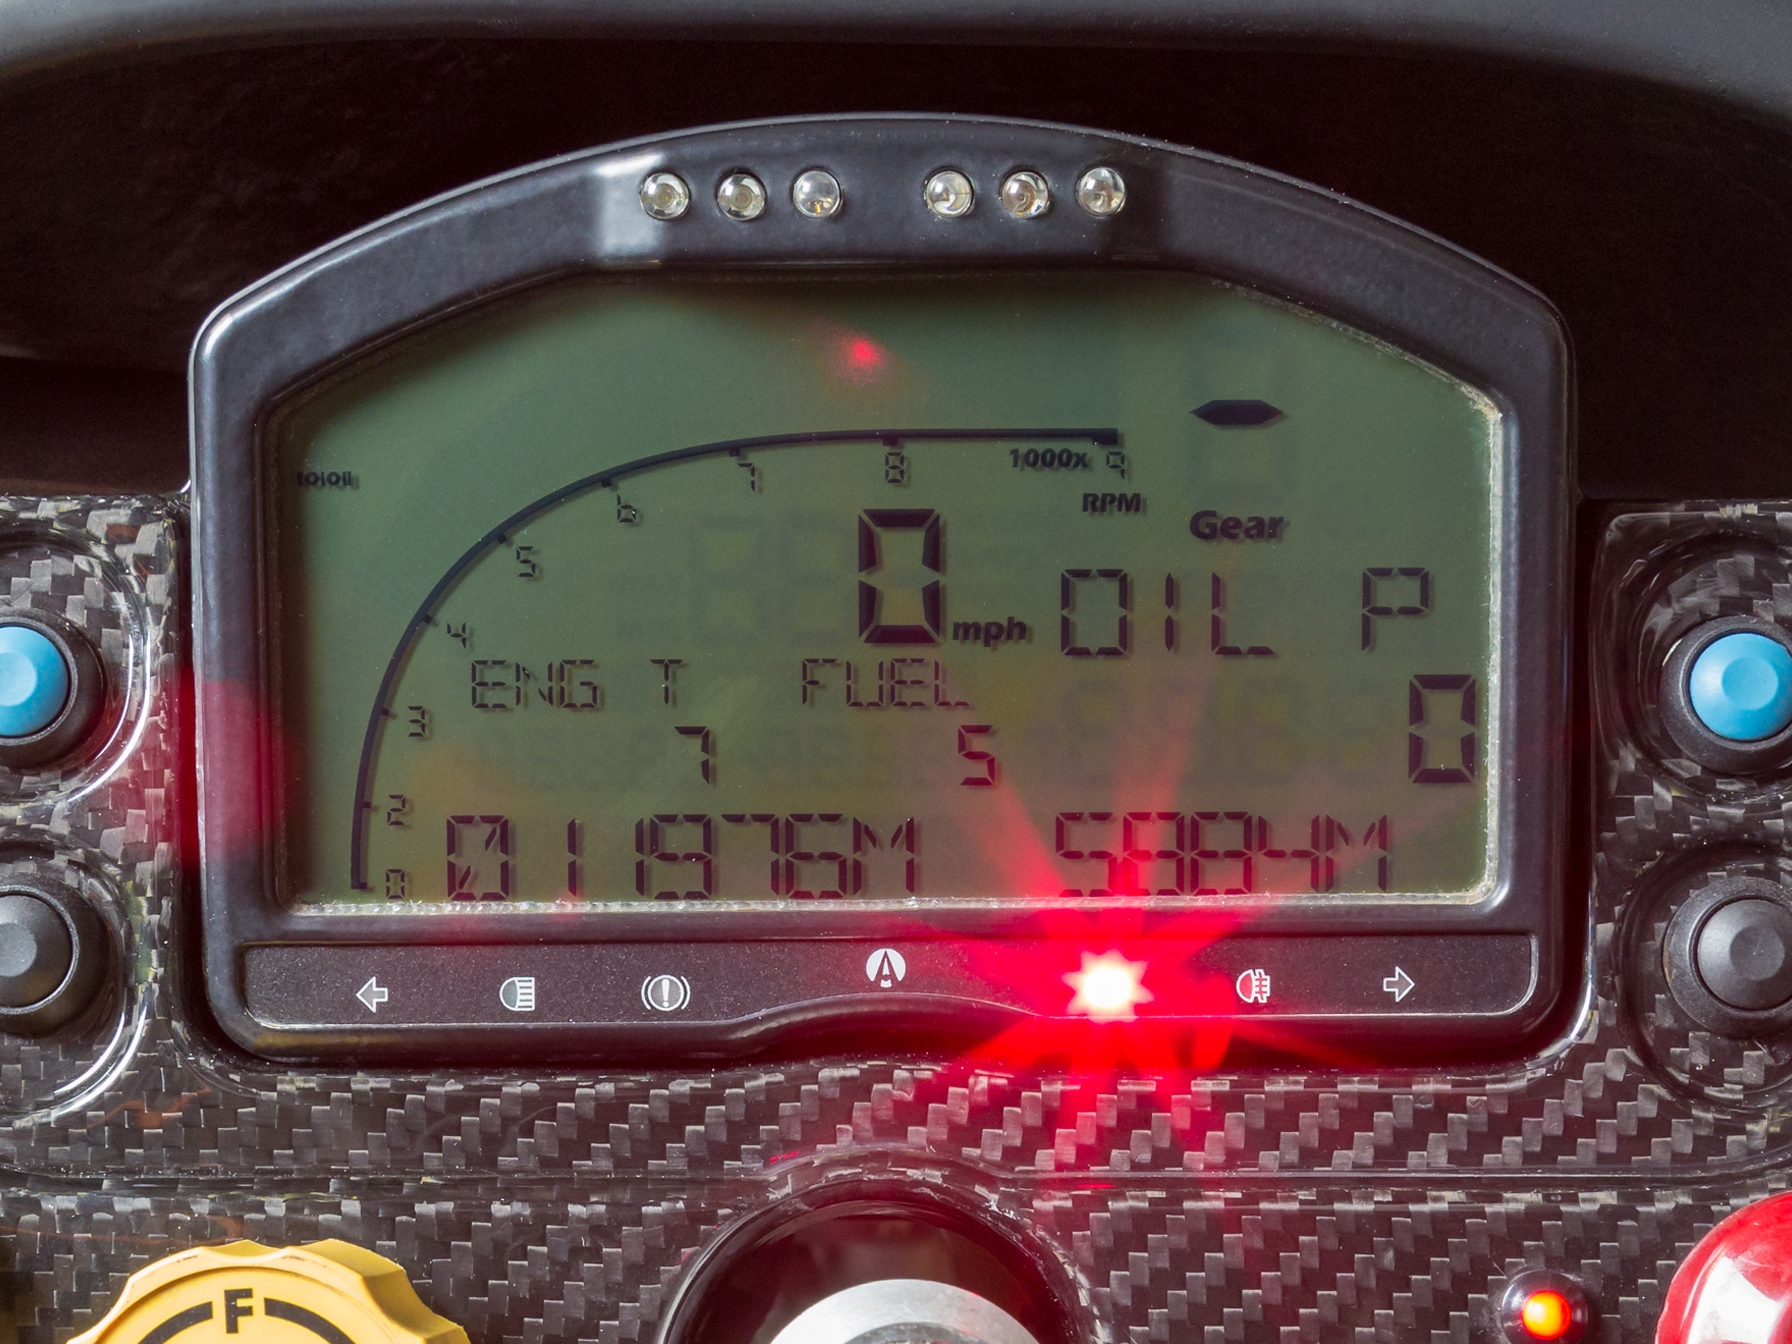
If you use the above wiring setup to create your loom, your analogue sensors on the Dash2 will show:
Analogue Sensor 1 - Water Temperature
Analogue Sensor 2 - Fuel Level
Analogue Sensor 3 - Oil Pressure
Analogue Sensor 4 - Battery Voltage
The SPA Dash uses resistence to measure changes in the sensors, however the Dash2 unit measures changes in voltage, so the signal needs to be converted. This is done by using "pull-up resistors" which feed from the +5V supply from the Dash2. How this works is beyond the scope of this post but you can Google around to find some explanations. The same +5V feed also provides power to the the Hall sensor (speed sensor).
The Dash2 also has a fog light indicator light, which the old SPA dash didn't. If you want to hook this up then you can wire pin 14 from connector 1 direct to the fog light switch.
Once you have done the wiring, you will still need to calibrate the analogue sensors (besides sensor 4 - battery voltage). I'll post how this is done sometime later if anyone requests it.